5-Minute Makeup for Zoom Calls: Quick & Polished Looks
5-Minute Makeup for Zoom Calls: Quick & Polished Looks
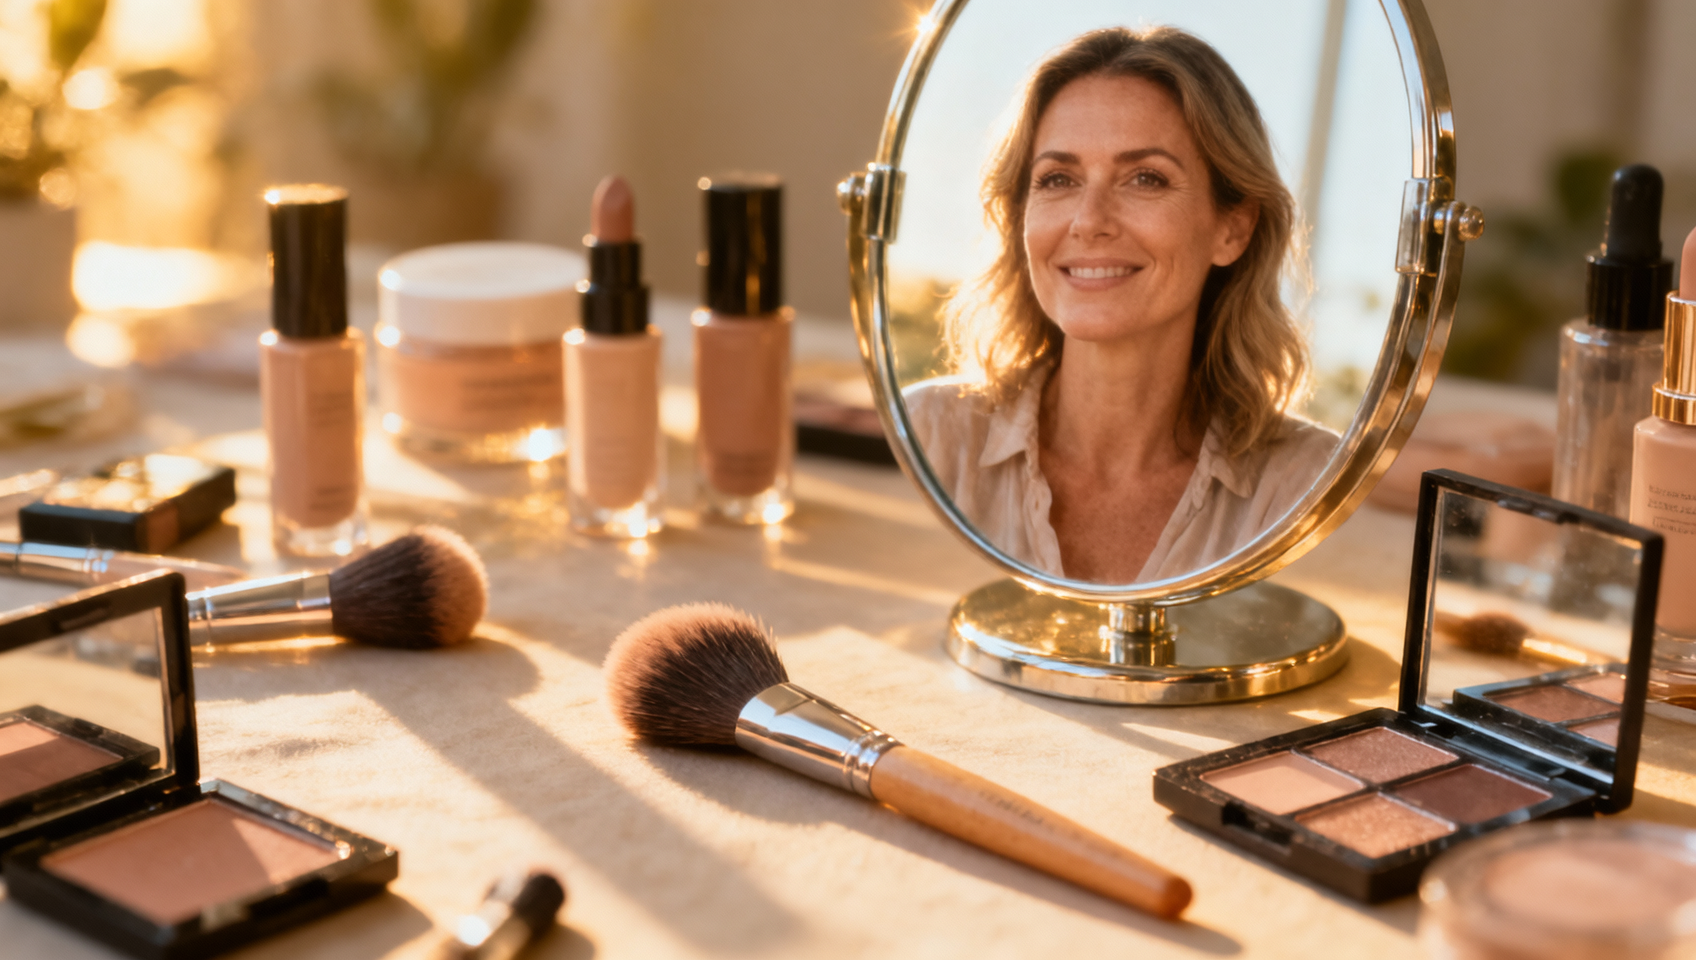
The Morning I Realized My Makeup Was Working Against Me
It was 8:52 AM. My toddler had just used my last clean blouse as a napkin for her yogurt, and my first Zoom call of the day was in eight minutes. I did what I always did: a frantic swipe of foundation, a dash of mascara, and a hopeful blot of lipstick. I clicked “Join Meeting,” feeling accomplished for having pulled it off. And then I saw myself on camera. My face was a flat, pale oval. My under-eyes looked grey, not concealed. The lighting from my kitchen window was casting harsh shadows that made me look utterly exhausted. I spent that entire call subtly tilting my screen, trying to find an angle that didn’t make me look like I’d been up for three days straight.
That was the day I knew I had to figure this out. As working moms, our morning routine for working moms is a high-stakes puzzle. We don’t have 30 minutes for a full beat. We need a 5-minute makeup strategy that actually works for the tiny, judgmental square we live in on video calls. It’s not about hiding; it’s about looking like you—just a version that’s had a solid eight hours and a green juice.
5-Minute Makeup for Zoom Calls: Quick & Polished Looks
This isn’t about adding more steps to your working mom schedule. It’s about smarter, targeted application that plays nice with your webcam. Forget what works for a party; we’re optimizing for pixels and artificial light.
H2: The Foundation of It All: Base & Skin for Camera
Here’s the biggest thing I had to unlearn: heavy, full-coverage foundation is your enemy on Zoom. It settles into fine lines you can’t even see in real life and creates a weird, mask-like effect. The camera simplifies everything, so your goal is evenness, not perfection.
What I Wish I Knew: That my beloved dewy foundation made me look sweaty and shiny on camera. Natural light loves it, but my laptop’s camera turned that glow into an oil slick.
My routine now is surgical:
- Moisturizer & Primer (60 seconds): Non-negotiable. Hydrated skin reflects light better. I use a moisturizer with a hint of glow, then a mattifying primer only in my T-zone (forehead, nose, chin). This controls shine where the camera picks it up most.
- Skin Tint or Tinted Moisturizer (60 seconds): I dot a light-coverage product (think Glossier Skin Tint or Ilia Super Serum Skin Tint) on my cheeks, forehead, and chin, then blend out with my fingers. This evens out redness without hiding my freckles. It looks like skin, even to the robot eye of my webcam.
- Concealer as Your Secret Weapon (45 seconds): Instead of foundation, I use concealer strategically. One dot under each eye (blend well!), one on each eyelid to even out darkness and act as a primer, and one on any noticeable blemish. This brings light to the center of your face, which is where the camera focuses.
Quick Win: If you do nothing else, apply a brightening concealer in an upside-down triangle under your eyes and blend. It lifts your entire face on screen instantly.
H2: Eyes That Pop (Without the Effort)
You are making eye contact through the camera lens, so your eyes are the star of the show. But a complicated smoky eye just turns into a dark blob.
A Real Example: I used to skip eyeshadow entirely, thinking it took too long. Then I tried a single, matte taupe shadow. I’d sweep it over my lid and just slightly into the crease with one finger. The difference was shocking. My eyes looked defined, awake, and put-together, and it added literally 15 seconds.
Here’s the 90-second eye plan:
- One-and-Done Shadow: A matte or satin shadow in a mid-tone brown, taupe, or soft peach. Use your finger to press it onto your lid. It adds depth without drama.
- Tightline Your Lashes: This is the pro trick. Take a black or brown pencil liner and gently run it along your upper waterline (the base of your lashes). It makes your lash line look incredibly thick and defined without any visible “liner” on screen. It’s magic.
- Mascara, But Strategic: Curl your lashes first (30 seconds, huge return). Then, apply mascara focusing on the outer lashes. This gives a subtle, lifted cat-eye effect that opens up your eyes. One coat is plenty.
H2: Cheeks, Lips, & Brows: The Frame for Your Face
This is where you add life back after your base has evened everything out. The camera drains color, so we need to put some back in intentionally.
Brows (45 seconds): Filled-in brows frame your face and make you look polished. A tinted brow gel is the fastest tool. Brush it through, hold for a few seconds, and you’re done. It’s like a push-up bra for your face.
Cheeks (30 seconds): Cream blush is your best friend. It blends quickly with fingers and looks like a natural flush, not powder sitting on top of skin. Smile and dab a bit on the apples of your cheeks, then blend back toward your hairline. A peachy or rosy shade works for most.
Lips (15 seconds): A lip stain or a creamy lipstick in a “my lips but better” shade. I avoid super glossy formulas for calls—they can be distracting. I keep a tube on my desk for a quick refresh right before a big presentation. My current favorite is a Clinique Almost Lipstick in Black Honey—it’s foolproof.
H2: Conquering Different Lighting Conditions
This is the game-changer. Your 5 minute makeup can look amazing or awful based on one thing: light.
- Harsh Overhead Light (The Kitchen Killer): This casts unflattering shadows under your eyes, nose, and chin. Fix it: Position a lamp with a white light bulb in front of you, level with your face. This fills in those shadows. Go slightly heavier on under-eye concealer.
- Yellow Side Light (The Cozy, Deceiving Lamp): Warm, yellow light can make you look sallow and can distort your makeup colors. Fix it: Try to balance it with a white light source from the front. Choose a blush with a slightly brighter pink tone to counteract the yellow.
- Backlighting (The Silhouette Effect): Sitting with a window behind you turns you into a dark shadow. Fix it: Always have the primary light source (a window or a lamp) in front of you. Your face should be the brightest thing in the frame.
- The “Ring Light” Alternative: You don’t need a professional ring light. A simple, inexpensive LED desk lamp placed behind your laptop, pointing at your face, works wonders.
What I Wish I Knew: That investing in a $25 LED desk light would do more for my on-camera appearance than any $50 foundation ever could. Lighting is 70% of the battle.
H2: My Go-To Product Arsenal (The No-Fuss Review)
After years of testing, here’s my desert-island list for the 5 minute makeup routine. These are workhorses, not divas.
- Base: Ilia Super Serum Skin Tint SPF 40. It’s skincare and light coverage in one. Looks incredibly natural, has SPF, and doesn’t get weird on camera.
- Concealer: Nars Radiant Creamy Concealer. The coverage is perfect—it hides without caking. The shade range is excellent.
- Cream Blush: Rare Beauty Soft Pinch Liquid Blush. A tiny dot goes a very long way. It blends like a dream and lasts through back-to-back calls.
- Brows: Glossier Boy Brow. The tiny brush and waxy formula let you fill and set in three strokes.
- One-Shadow Wonder: Laura Mercier Caviar Stick in “Blossom” (a matte pinky-nude). You can draw it on and blend with a finger in 10 seconds. No brushes, no fallout.
- Mascara: Maybelline Lash Sensational Sky High. It gives length and definition without clumping. The price is right for something you replace often.
Your Turn: Your 5-Minute Game Plan
Don’t try to change everything at once. Pick one thing to implement this week.
- This Week: Fix your lighting. Before your next call, move a lamp in front of you. See the difference.
- Next Week: Swap your full-coverage foundation for a skin tint or just use concealer where you need it.
- The Following Week: Add the 90-second eye routine (one shadow, tightline, mascara).
Celebrate the progress. Some days, “polished” might just be brushed brows and great lighting. That’s a win. Our goal isn’t to look like we’re headed to a red carpet; it’s to look like we’ve got our stuff together enough to lead the 9 AM project sync. And you do.
FAQ
Q: I have literally 2 minutes. What are the absolute essentials? A: Concealer under the eyes, a swipe of tinted brow gel, and a dab of cream blush. Then, make sure your light is in front of you. This 2-minute combo adds color and structure where the camera needs it most.
Q: How do I prevent looking shiny during long calls? A: Keep blotting papers or a clean, fluffy powder puff with a tiny bit of translucent powder (like the Fenty Beauty Invisimatte) at your desk. A quick press on the T-zone mid-call absorbs oil without adding makeup layers.
Q: Are there any makeup colors I should avoid on camera? A: Very pale, shimmery highlights can look sweaty. Super dark, cool-toned lipsticks can sometimes look harsh or bleed on camera. Stick to mid-tone, warm-to-neutral shades for the most universally flattering look.
Q: My webcam is terrible. Will this still help? A: Yes, absolutely! A bad webcam needs more contrast and definition, not more product. Strategic concealer, defined brows, and a pop of blush will help your features translate clearly even on a low-res camera. Good lighting is even more critical here.
Tags
Related Articles
5-Minute Anti-Aging Skincare for Busy Working Moms
5-Minute Anti-Aging Skincare for Busy Working Moms
5-Minute Makeup for Busy Moms: Quick & Polished Looks
5-Minute Makeup for Busy Moms: Quick & Polished Looks
5-Minute Mom Makeup: Quick Beauty Routine for Busy Mornings
5-Minute Mom Makeup: Quick Beauty Routine for Busy Mornings